How To Assemble Components On A PCB: A Comprehensive Guide
Introduction
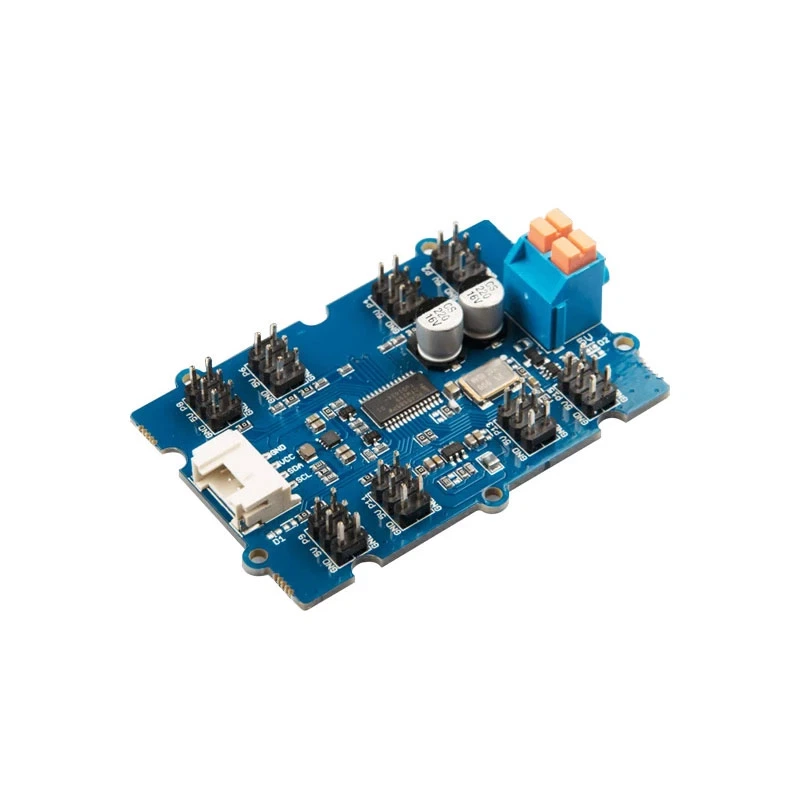
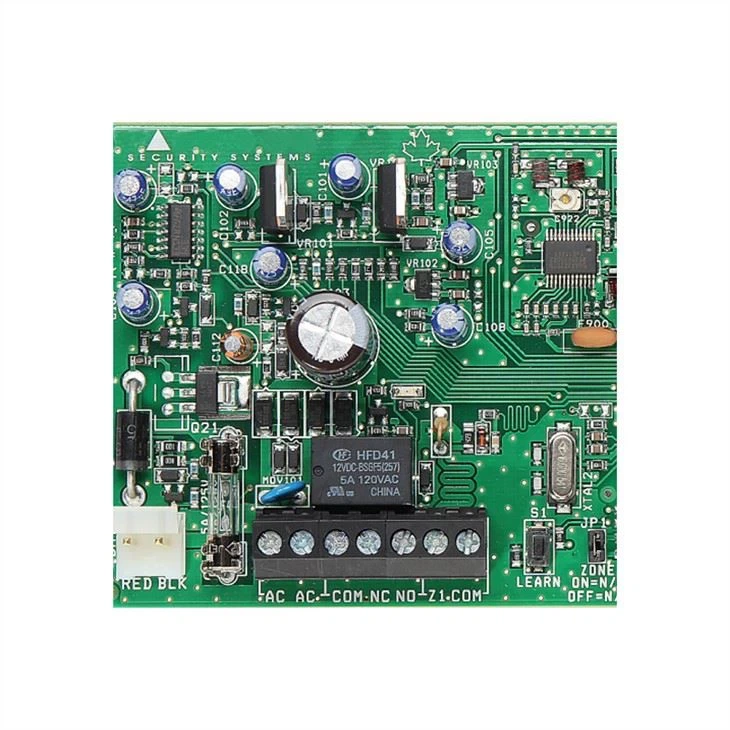
Printed Circuit Boards (PCBs) form the backbone of modern electronics, providing a platform for the intricate assembly of electronic components. The process of assembling these components on a PCB is both an art and a science, requiring precision, understanding, and technical acumen. This article aims to elucidate the nuances of PCB assembly, offering insights for both novices and seasoned practitioners.
Responsive Images with Links
Understanding PCB Design and Layout
Importance of Circuit Design
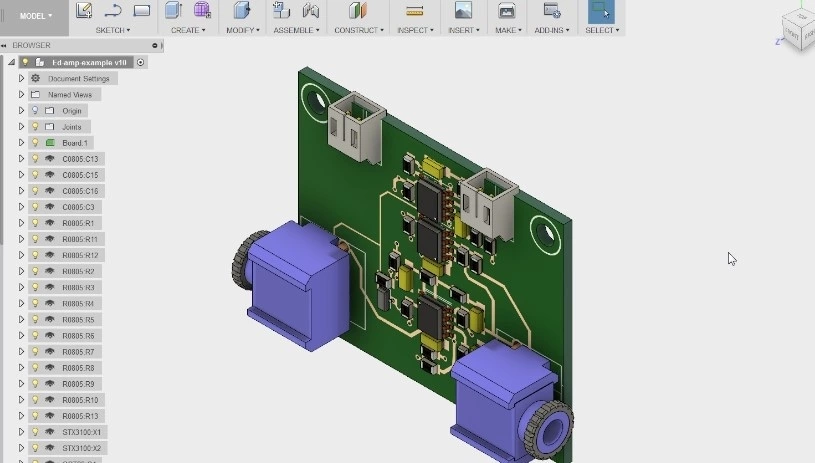
Before delving into assembly, it's crucial to comprehend the PCB's design. This blueprint dictates component placement and connection pathways, known as traces. Effective design is pivotal in optimizing the PCB's functionality and reliability.
Tools for Design and Layout
Utilizing sophisticated software tools like CAD (Computer-Aided Design) systems enhances accuracy in PCB layout. These tools aid in mapping out the electronic circuitry with precision, ensuring that each component fits perfectly within the designated space.
Preparing for Assembly
Gathering Necessary Components
The first step is to acquire all necessary electronic components as per the PCB design. This includes resistors, capacitors, integrated circuits, and other specialized elements.

Tools and Equipment
The right tools are vital for successful assembly. This includes soldering irons, tweezers, magnifying glasses, and multimeters. Advanced assemblies might require a solder paste and a reflow oven.
Soldering Techniques
Through-Hole vs. Surface Mount
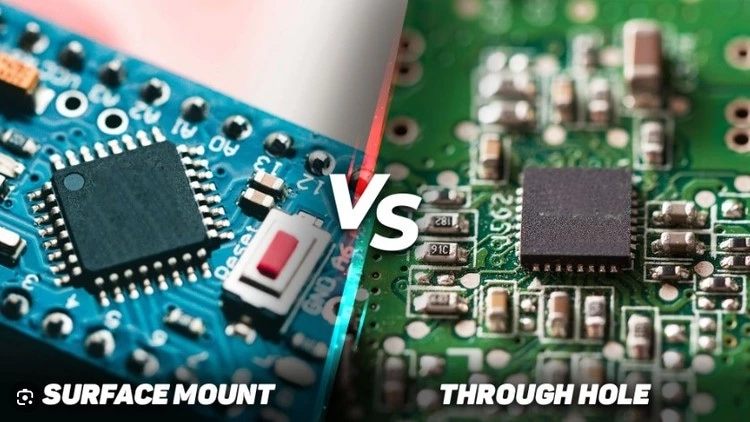
There are two primary methods of attaching components: through-hole and surface-mount. Through-hole involves inserting leads into pre-drilled holes, while surface-mount technology (SMT) involves placing components directly onto the surface of the PCB.
Soldering Best Practices
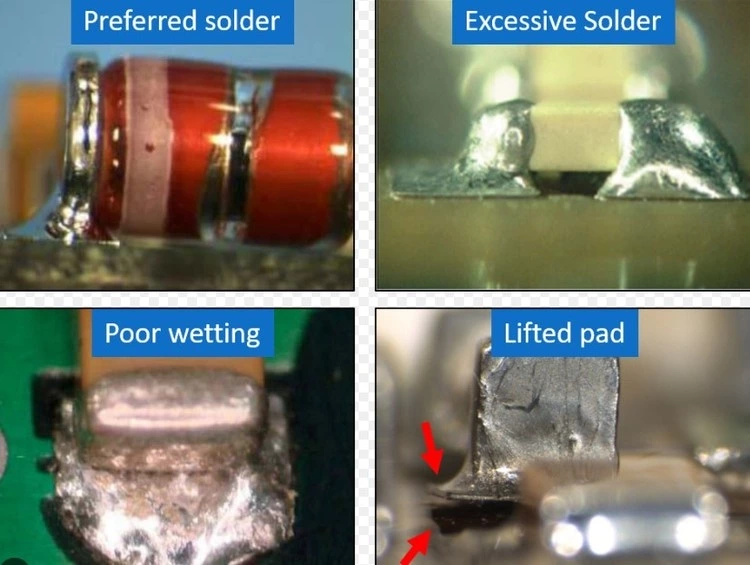
Precision in soldering is key. It involves heating the component lead and the PCB pad simultaneously and applying the right amount of solder. Avoid cold solder joints and ensure a shiny, smooth joint for optimal conductivity.
Placement and Orientation of Components
Strategic Placement
Components should be placed according to the PCB layout, keeping in mind the flow of current and the interaction between different elements.
Orientation Matters
Pay attention to the polarity of components like diodes, capacitors, and ICs. Incorrect orientation can lead to circuit failure or damage.
Quality Assurance and Testing
Visual Inspection
Post-assembly, a thorough visual inspection is imperative. Look for solder bridges, cold joints, and misaligned components.
Functional Testing
Utilizing a multimeter, test for continuity and correct voltages across the PCB. This ensures the assembled PCB is functioning as designed.
Conclusion
PCB assembly is a meticulous process that demands precision, patience, and technical knowledge. By following these guidelines, one can master the art of assembling components on a PCB, paving the way for successful electronic projects. Whether you're a hobbyist or a professional, understanding and applying these techniques will enhance your skills in the fascinating world of electronics.
